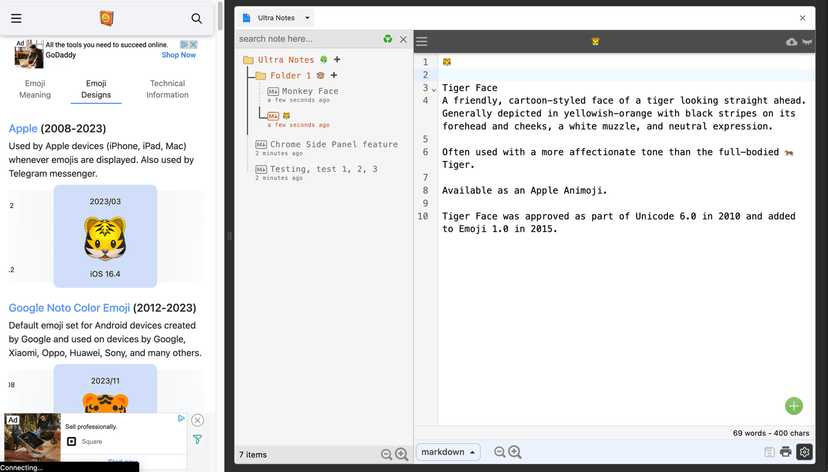
Background
There are many possible ways to build a Chrome extension (or Firefox addon, or web extension in general).
- The simplest way is to use vanilla JavaScript, HTML, and CSS following the official documentation provided by Chrome and Mozilla. However, it can be cumbersome to manage the codebase as the extension grows.
Essentially, a web extension is still a web application that runs in a browser like any website, built with HTML, CSS, and JavaScript. This means you can use most front-end frameworks to build an extension, such as React, Angular, or Vue.js.
- The difference is that you need to follow the extension's architecture (i.e., Manifest) and APIs to interact with the browser and the web pages.
The benefit of using a front-end framework is very clear: it helps you manage the codebase and the UI components more effectively. However, setting up the project with the right configuration and dependencies can be a bit trickier for a browser extension. Additionally, an extension built for the Chrome browser may not work well in Chromium-based browsers like Firefox, Edge, Arc, Vivaldi, Brave, etc.
Why Svelte?
While React, Angular, and Vue.js are very popular and work well for most web projects, it's natural to ask, "Why Svelte?" To answer that question, the simplest way is to google and read some articles like the ones below:
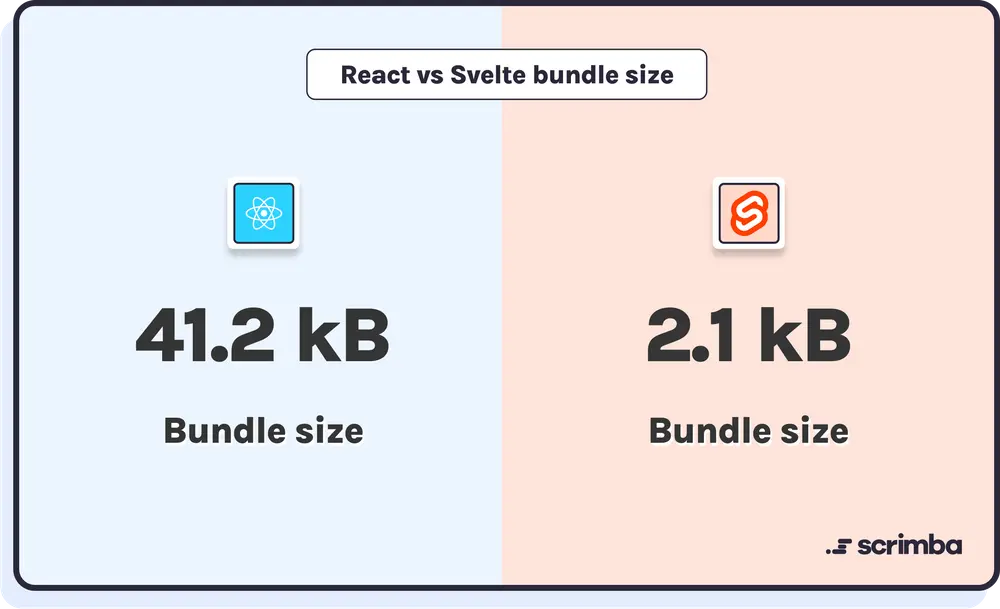
In conclusion, we consider using Svelte for building a Chrome extension because of its:
- Simplicity for small to medium projects (like an extension)
- Performance
- Bundle size
- Opportunity to experience an innovative front-end framework
Here, I have to admit that I'm easily attracted by new things. 😄
Svelte vs. SvelteKit
If you are a beginner with Svelte, you may be confused about whether to choose Svelte or SvelteKit. Let's learn a little bit about them:
- Svelte, similar to React, is a frontend framework that helps you build new web applications or integrate with existing ones.
- SvelteKit is like Next.js, which is built on top of React, and helps manage routing, server-side rendering, and configurations more easily with a lot of built-in features.
Below are some use cases that may help you to choose the right one for your projects:
| Use case | Svelte | SvelteKit |
|---|
| Building a brand new web project | | ☑️ |
| Server-side-rendering, SEO, routing, service-worker, etc. | | ☑️ |
| Integrating with an existing project | ✅ | |
| A browser (Chrome) extension | ✅ | |
Building a Chrome Extension
with SvelteKit
There is no problem if you want to use SvelteKit to create a Chrome extension. Below are a few articles to help you get started:
However, at the moment, there are not many plugins and support from SvelteKit for building Chrome extensions. In the solutions described in the above articles, you may face issues with configuration, dependencies, and compatibility with the Chrome extension architecture when you need to scale up the project with more complicated features, such as a fancy UI/UX using content scripts.
The two popular solutions mentioned above leverage the static-adapter to copy whatever is in the static folder, i.e., the Manifest and an entry point file, to the build folder. However, this solution is very limited because we cannot fully utilize the power of a frontend framework like Svelte with static files only. That is why SvelteKit is suitable for a Popup (page) extension, but not for a more complicated extension with content scripts.
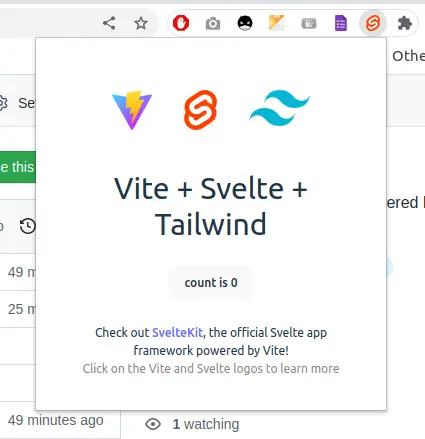
In the article below, you may find out why SvelteKit is not suitable for a Chrome extension:
Svelte for Chrome Extension
Svelte supports building Chrome extensions with content scripts, background scripts, and UI Svelte components much better, as it is easy to integrate with an existing project. To save time setting up everything from scratch, you can simply clone the boilerplate repository below and update the codebase to fit your requirements:
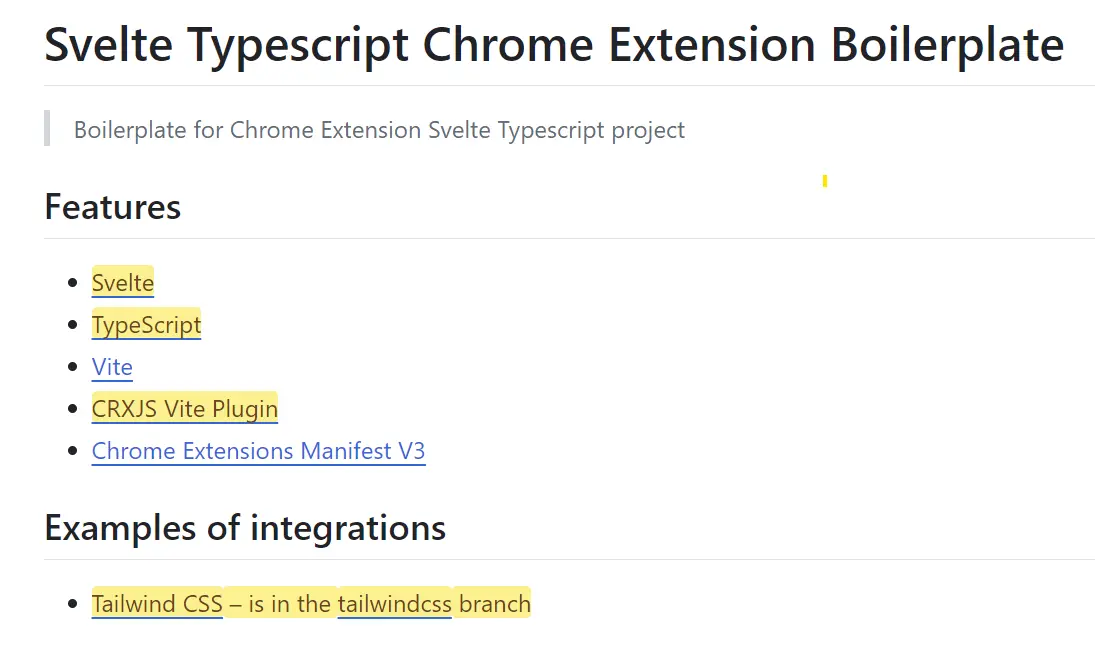
After cloning the repository, you can start building and testing it with the following steps:
- Install the dependencies and build the extension.
Note that you may want to upgrade the dependencies to the latest versions, especially the Svelte and Vite plugins. Below are the versions that work for me:
| Package | Version |
|---|
| @crxjs/vite-plugin | ^2.0.0-beta.23 |
| @sveltejs/vite-plugin-svelte | ^3.0.0 |
| @types/chrome | latest |
| svelte | ^4.2.18 |
| svelte-check | $3.8.1 |
| svelte-preprocess | ^6.0.1 |
| vite | ^5.2.11 |
# install packages
npm install

# build the extension
npm run build
- Load the extension as instructed here: https://developer.chrome.com/docs/extensions/get-started/tutorial/hello-world#load-unpacked
There are three main parts in the boilerplate, that benefit us to build a Chrome extension:
| # | Feature | Use case |
|---|
| 1 | Svelte | Helps to integrate a content-script svelte-powered application into any webpage |
| 2 | CRXJS Vite Plugin (@crxjs/vite-plugin) | Helps to custom the Manifest to work with Svelte (content-script, or whatever) easily |
| 3 | Tailwind CSS | Easy SCSS |
Enable Tailwind CSS
To enable Tailwind CSS in the project, you can follow the steps described in the official documentation:
Svelte UI Component Library
There are a few Svelte UI component libraries that you can use to build a Chrome extension, but I prefer to use shadcn because of its simplicity and flexibility:
The package.json after adding the library should look like this:
{
  "name": "chrome-extension",
  "version": "0.0.1",
  "description": "Your description here",
  "type": "module",
  "scripts": {
    "dev": "vite",
    "build": "vite build",
    "check": "svelte-check --tsconfig ./tsconfig.json"
  },
  "devDependencies": {
    "@crxjs/vite-plugin": "^2.0.0-beta.23",
    "@sveltejs/package": "^2.3.1",
    "@sveltejs/vite-plugin-svelte": "^3.0.0",
    "@tsconfig/svelte": "^5.0.4",
    "@types/chrome": "latest",
    "@types/eslint": "^8.56.0",
    "@typescript-eslint/eslint-plugin": "^7.0.0",
    "@typescript-eslint/parser": "^7.0.0",
    "autoprefixer": "^10.4.19",
    "eslint": "^8.56.0",
    "eslint-config-prettier": "^9.1.0",
    "eslint-plugin-svelte": "^2.40.0",
    "postcss": "^8.4.38",
    "prettier": "^3.1.1",
    "prettier-plugin-svelte": "^3.1.2",
    "sass": "^1.77.3",
    "svelte": "^4.2.18",
    "svelte-check": "^3.8.1",
    "svelte-preprocess": "^6.0.1",
    "tailwindcss": "^3.4.4",
    "tslib": "^2.4.1",
    "typescript": "^5.0.0",
    "vite": "^5.2.11"
  },
  "dependencies": {
    "bits-ui": "^0.21.10",
    "clsx": "^2.1.1",
    "lucide-svelte": "^0.381.0",
    "svelte-radix": "^1.1.0",
    "tailwind-merge": "^2.3.0",
    "tailwind-variants": "^0.2.1"
  }
}
Manifest V3
Manifest v3 is supported in the boilerplate, and you can find the configuration in the vite.config.js file.
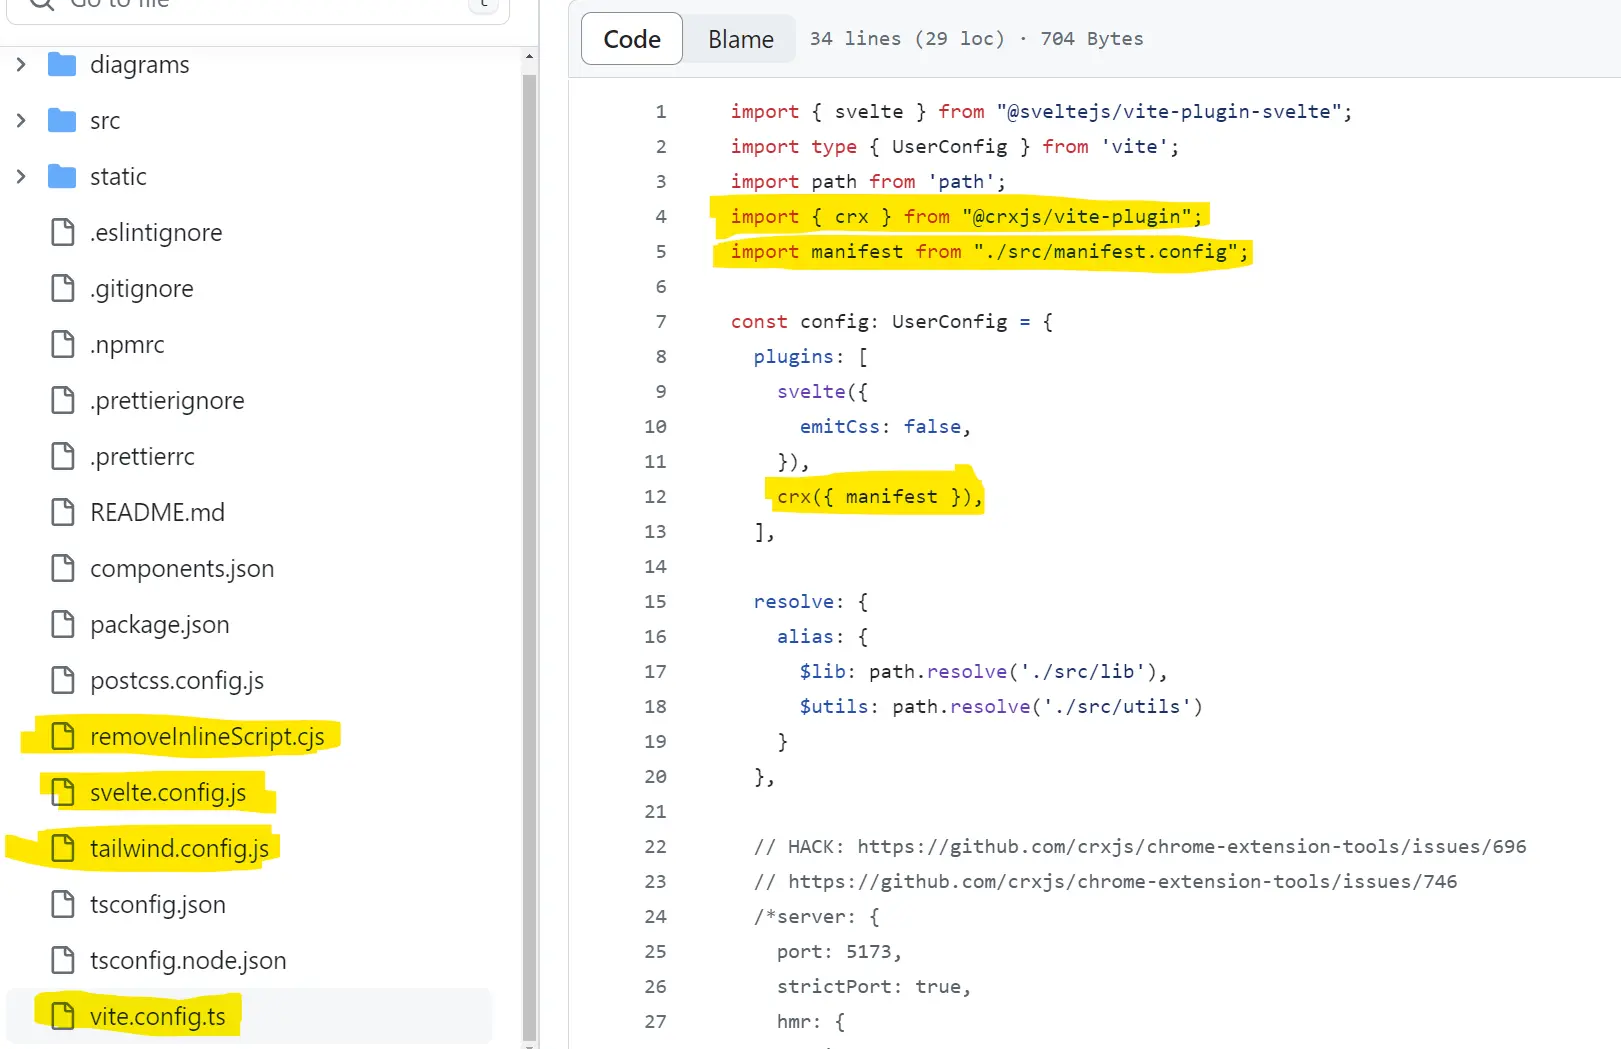
Content Scripts
Using a popup action is very common in a Chrome extension, but sometimes we need to inject a content script into a webpage to interact with the DOM. This is where content scripts come into play. For example, we can use a popup to display a UI for users to perform certain actions, but that popup is isolated from the context of the webpage. To interact with the webpage, such as highlighting a word, replacing a word, or counting the number of words, we need to inject a content script into the webpage.
We can use vanilla JavaScript to write a content script, but managing the codebase becomes challenging as the extension grows. For instance, if we want to use TypeScript interfaces, shared functions, or a shared state between the content script and the popup, static JavaScript files are insufficient. It becomes even more difficult if we want to embed a UI into a webpage. While we can use pure JavaScript to create a simple button, a complex UI requires more than vanilla JavaScript.
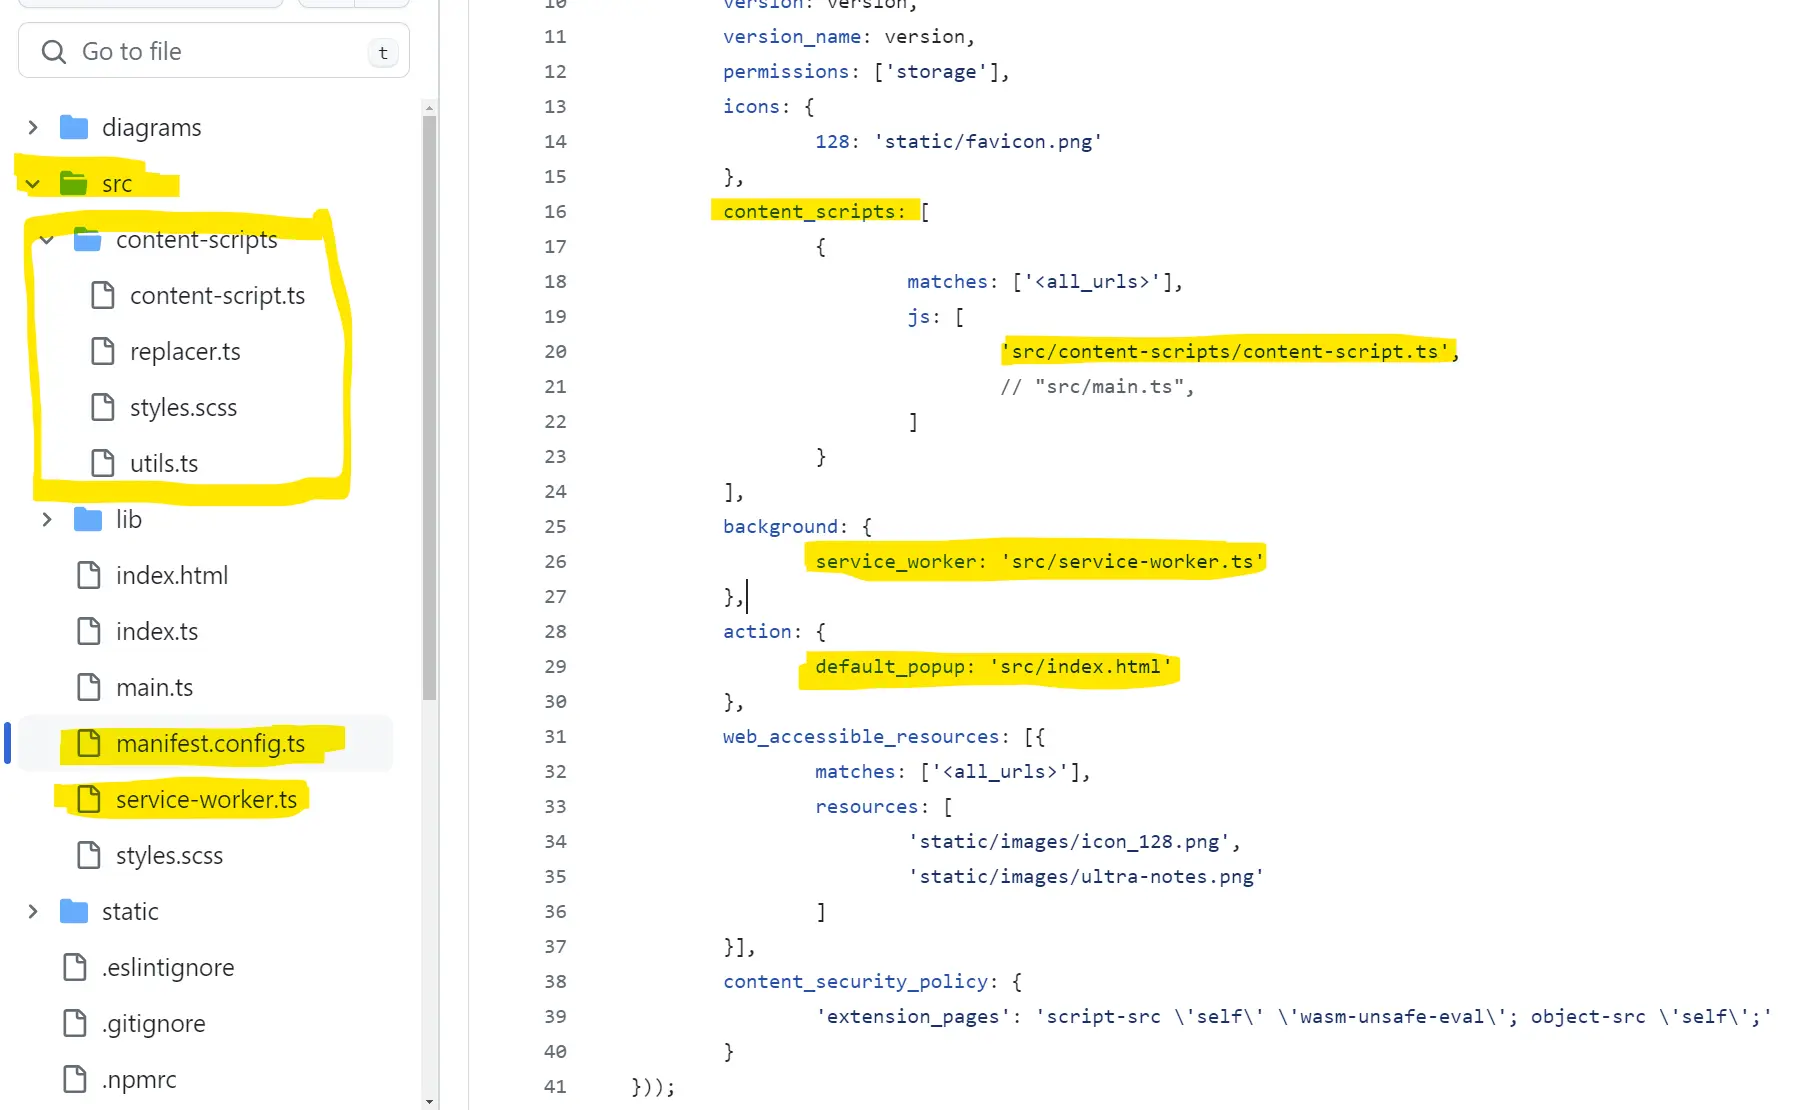
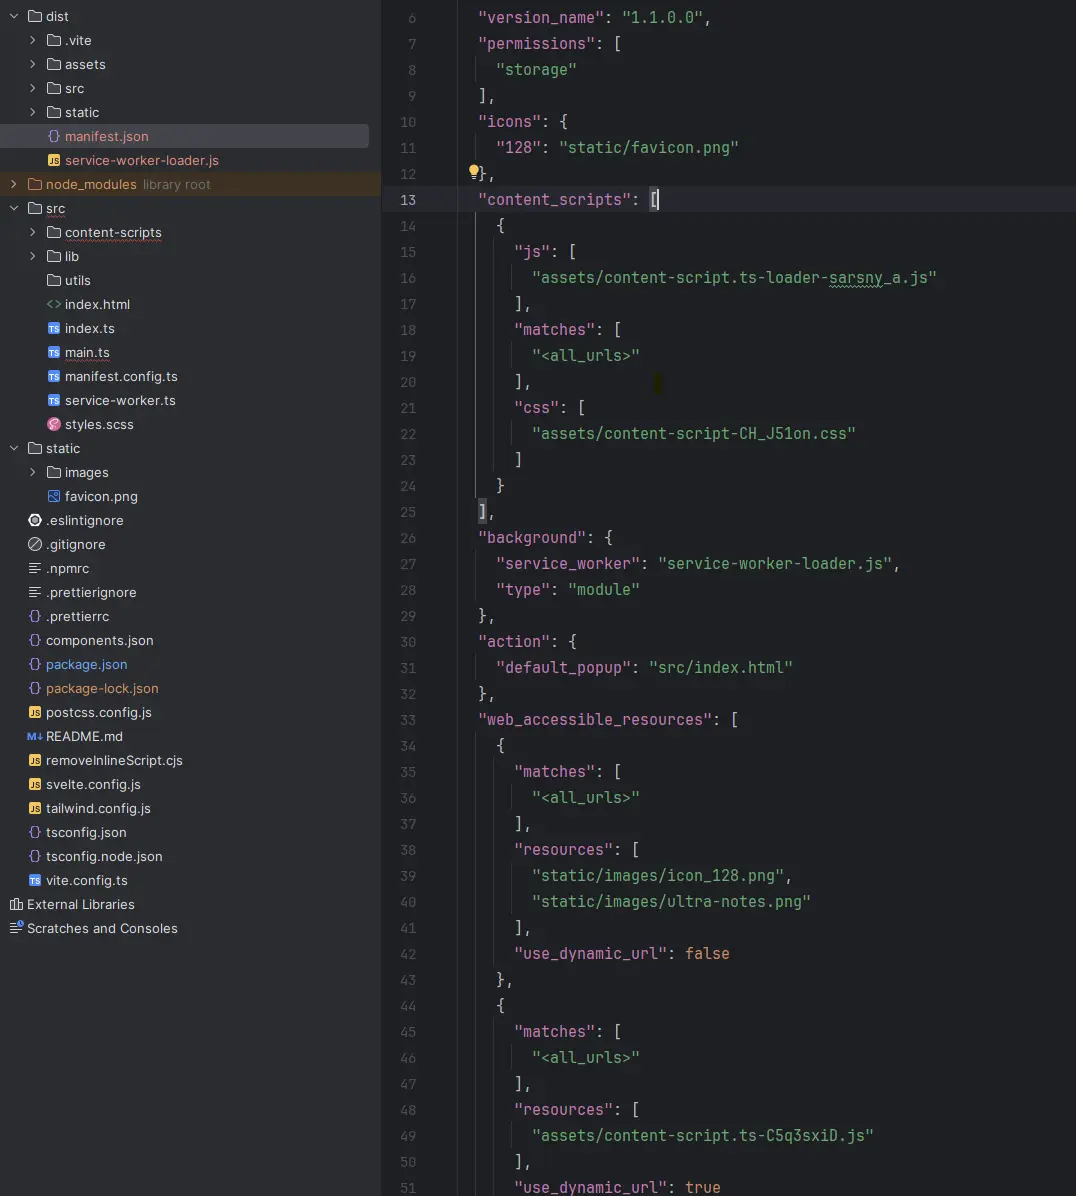
Below, we will see how CRXJS helps us generate a content script with Svelte components and how to inject it into a webpage using the generated dist/manifest.json.
The manifest is defined in the src/manifest.config.ts file
To generate the dist/manifest.json file.
Integrate a UI (Svelte Component) into a Web Page with Content Scripts
Embedding a Svelte UI component into a webpage is similar to embedding a React component: you need to find a DOM element to host the component. The article below explains the process of integrating a Svelte component into an existing website:
- Adding Svelte to an Existing Website
Now, let's consider this scenario for our project:
- We want to add a simple UI to a webpage that users can interact with, such as displaying a button that users can click to show a dialog.
- First, we need a content script to inject the UI into the webpage, i.e., a src/main.ts file.
- The main.ts file will append a shadow DOM to the body of the webpage and then mount the Svelte UI component to the shadow DOM.
- We will describe the src/main.ts in the content_scripts section of the src/manifest.config.ts file, so it will be attached and called whenever a webpage is loaded.
{
  content_scripts: [
    {
      "matches": ["<all_urls>"],
      "js": ["main.js"]
    }
  ]
}
And here is the sample src/main.ts file
import MainUI from '$lib/MainUI';
import styles from './styles.scss?inline';

const init = () => {
  const host = document.body;
  if (!host) {
    console.warn('Could not find body host for Ultra Notes');
    throw new Error('Could not find body host');
  }

	// Optional, create a container to host our Shadow DOM
	const container = document.createElement('div');
	container.id = 'my-svelte-app';
	container.style.width = '600px';
	container.style.height = '500px';
	container.style.position = 'absolute';
	container.style.right = '50px';
	container.style.top = '80px';
	document.body.append(container);

  // Optional, create a shadow DOM to host the app
  // We can mount our app directly to an HTML element, but using a shadow DOM is more secure
  const styleElement = document.createElement('style');
  styleElement.textContent = styles;
	const shadow = container.attachShadow({ mode: 'open' });
	shadow.appendChild(styleElement);

	const target = document.createElement("div");
	target.style.fontFamily = 'Open Sans, sans-serif';
	target.style.backgroundColor = 'rgba(204, 233, 217, 0.75)';
	target.style.height = '100%';
	shadow.append(target);

  // Mount the app to the target
	new MainUI({
		target,
		props: {},
	});
}

// Wait for the web's DOM to be ready and then initialize our app
if (document.readyState === 'loading') {
	document.addEventListener('DOMContentLoaded', init);
} else {
	init();
}
Conclusion
- Both Svelte and SvelteKit can be used to build a Chrome extension, but Svelte is particularly suitable for more complex extensions involving content-scripts, especially at the time of writing this post.
- Svelte is known for its simplicity, speed, and small bundle size, which are crucial factors for Chrome extensions.
- Svelte is well-suited for small to medium-sized projects, making it a popular choice for startups and personal projects.
- The Svelte community is growing, with numerous integrations, libraries, and plugins available to facilitate Chrome extension development, such as crxjs, Tailwind CSS, and shadcn.
- While Svelte is a great choice for Chrome extensions, other front-end frameworks like React, Angular, and Vue.js are also viable options.
- Above all, enjoy 😄.
References


